-
Table of Contents
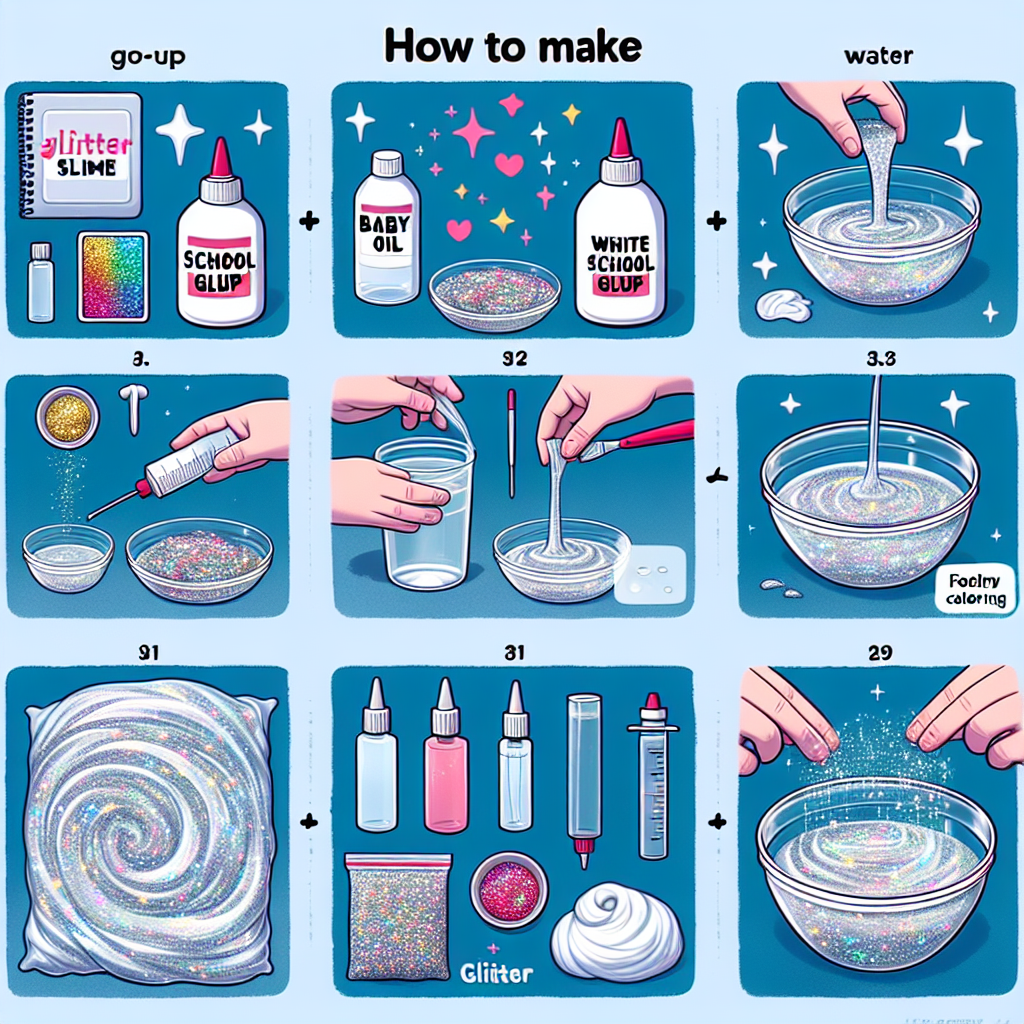
“Sparkle and Stretch: Create Your Own Glitter Slime at Home!”
Making your own glitter slime at home is a fun and creative activity that combines simple ingredients to produce a stretchy, sparkly substance perfect for play or decoration. This DIY project is not only easy to follow but also allows for customization in terms of colors and glitter types, making it a great option for kids and adults alike. With just a few household items, you can create a mesmerizing slime that captivates the imagination and provides hours of entertainment. Whether for a party, a rainy day activity, or a unique gift, homemade glitter slime is sure to delight.
Ingredients Needed for Glitter Slime
Creating your own glitter slime at home can be a delightful and engaging activity, especially for those who enjoy hands-on crafts. To embark on this creative journey, it is essential to gather the right ingredients, as they play a crucial role in achieving the desired texture and sparkle of the slime. The primary ingredient required for making glitter slime is a base, which can be either white school glue or clear glue. White school glue is often preferred for its ease of use and availability, while clear glue can provide a more translucent finish that showcases the glitter beautifully.
In addition to glue, you will need an activator to transform the liquid glue into a stretchy, moldable slime. The most common activator is a solution made from borax and water, but alternatives such as contact lens solution combined with baking soda can also be effective. When using borax, it is important to mix one teaspoon of borax powder with one cup of warm water to create a solution that can be gradually added to the glue mixture. This step is crucial, as the right amount of activator will determine the slime’s consistency; too much can lead to a rubbery texture, while too little may result in a sticky mess.
To enhance the visual appeal of your slime, glitter is an essential ingredient. The type and color of glitter you choose can significantly impact the final product. Fine glitter will create a more subtle shimmer, while chunky glitter can add a bold, eye-catching effect. It is advisable to select non-toxic glitter, especially if children will be involved in the crafting process. Additionally, you may consider using different colors of glitter to create a multi-dimensional look, allowing for a more personalized and unique slime experience.
Another optional ingredient that can elevate your glitter slime is food coloring. While the glue itself is typically white or clear, adding a few drops of food coloring can infuse your slime with vibrant hues. This step is particularly enjoyable for children, as they can experiment with mixing colors to create their own custom shades. However, it is important to use food coloring sparingly, as a little goes a long way, and too much can stain hands or surfaces.
To ensure that your glitter slime has a pleasant scent, you might also consider incorporating scented oils or extracts. This addition can make the slime more enjoyable to play with, as well as provide a sensory experience. When selecting scents, it is advisable to choose those that are safe for children and non-toxic, ensuring that the crafting experience remains fun and safe.
Finally, it is essential to have a mixing bowl and a spoon or spatula on hand for combining the ingredients. A clean workspace will also facilitate the process, allowing for easy cleanup after the crafting session. By gathering these ingredients and tools, you will be well-prepared to create your own glitter slime at home. The combination of glue, activator, glitter, optional food coloring, and scents will not only yield a fun and tactile product but also provide an opportunity for creativity and experimentation. As you embark on this slime-making adventure, remember that the process is just as enjoyable as the final product, making it a perfect activity for individuals or families alike.
Step-by-Step Guide to Making Glitter Slime
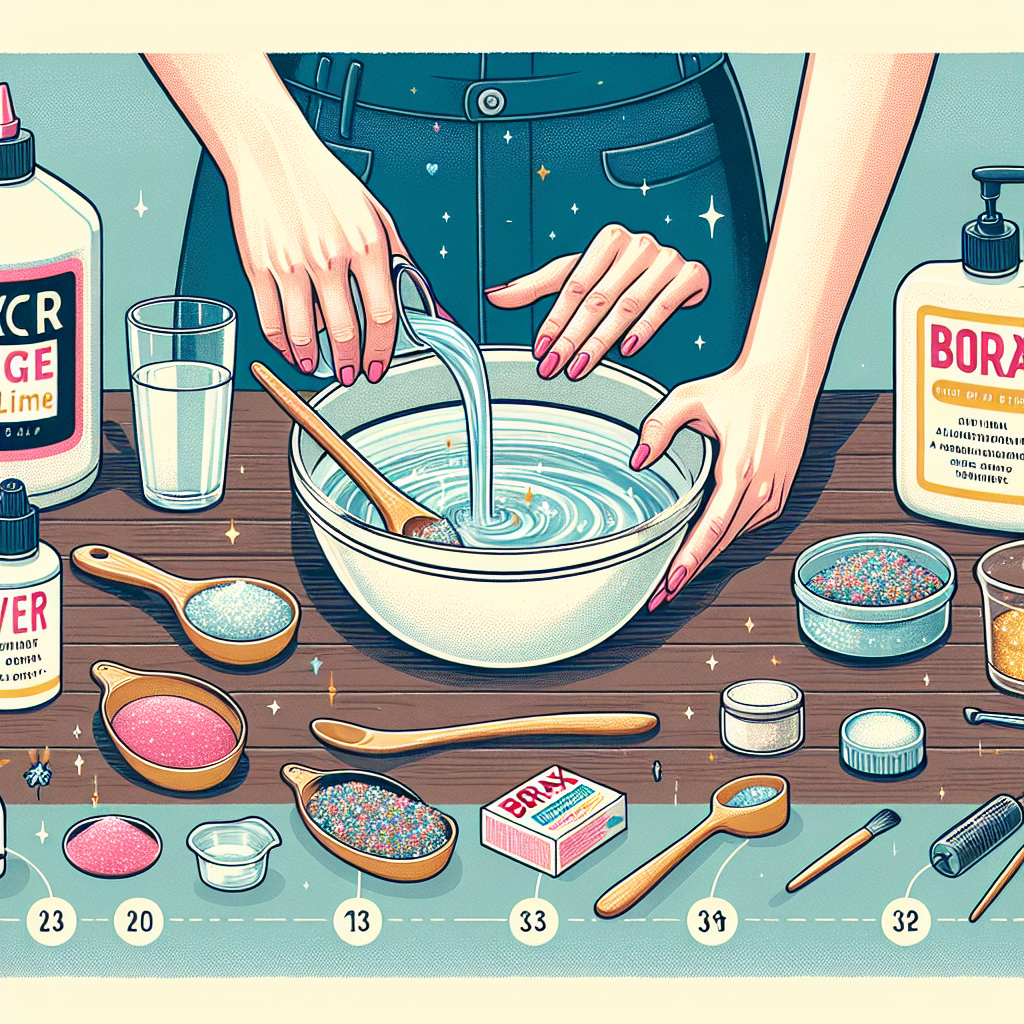
Creating your own glitter slime at home can be a delightful and engaging activity, perfect for both children and adults alike. The process is straightforward and requires only a few common ingredients, making it accessible for anyone interested in crafting. To begin, gather your materials, which include white school glue, baking soda, contact lens solution, and, of course, glitter in your preferred colors. It is advisable to choose a clean workspace to facilitate the mixing process and to minimize any mess.
First, pour approximately one cup of white school glue into a mixing bowl. This will serve as the base of your slime. The glue provides the necessary adhesive properties that allow the slime to achieve its characteristic stretchiness. Once the glue is in the bowl, you can add your chosen glitter. The amount of glitter can vary depending on how sparkly you want your slime to be; however, a couple of tablespoons is typically sufficient to create a vibrant effect. Stir the mixture thoroughly to ensure that the glitter is evenly distributed throughout the glue.
Next, it is time to incorporate the baking soda. Add about one teaspoon of baking soda to the glue and glitter mixture. This ingredient plays a crucial role in the slime-making process, as it helps to thicken the mixture and gives it a more cohesive texture. After adding the baking soda, mix the ingredients well until you achieve a uniform consistency. It is important to ensure that the baking soda is fully dissolved in the glue to avoid any clumps in your final product.
Once the baking soda is well integrated, the next step involves adding the contact lens solution. This solution contains boric acid, which is essential for transforming the glue mixture into slime. Begin by adding one tablespoon of contact lens solution to the bowl. As you mix, you will notice the slime starting to form. If the mixture remains too sticky, you can gradually add more contact lens solution, one teaspoon at a time, until you reach your desired consistency. It is crucial to mix thoroughly after each addition to ensure that the slime develops the right texture.
As you continue to mix, you may find that the slime begins to pull away from the sides of the bowl and becomes less sticky. At this point, you can use your hands to knead the slime. This step is vital, as it allows you to further incorporate any remaining stickiness and achieve a smooth, pliable texture. Kneading the slime also enhances its elasticity, making it more enjoyable to play with. If you find that the slime is still too sticky after kneading, you can add a little more contact lens solution until it reaches the perfect consistency.
Finally, once you are satisfied with the texture and stretchiness of your glitter slime, it is ready for use. Store your slime in an airtight container to keep it fresh and prevent it from drying out. This homemade glitter slime not only provides hours of entertainment but also serves as a wonderful sensory experience. The shimmering glitter adds an extra layer of visual appeal, making it a delightful craft project for all ages. By following these simple steps, you can easily create your own glitter slime at home, allowing for endless customization and fun.
Tips for Customizing Your Glitter Slime
Creating your own glitter slime at home can be a delightful and engaging activity, especially when you consider the myriad ways to customize it to suit your preferences. To begin with, the choice of base ingredients plays a crucial role in determining the texture and consistency of your slime. Traditional recipes often utilize white school glue or clear glue, each offering a different aesthetic and tactile experience. For instance, clear glue results in a more transparent slime that beautifully showcases the glitter, while white glue yields a more opaque finish. Therefore, selecting the right glue is the first step in personalizing your glitter slime.
Once you have chosen your base, the next aspect to consider is the type and color of glitter you wish to incorporate. Glitter comes in various sizes and colors, ranging from fine to chunky, and each type can dramatically alter the visual appeal of your slime. For a subtle shimmer, fine glitter is ideal, as it disperses evenly throughout the slime. Conversely, if you prefer a more dramatic effect, chunky glitter can create a striking contrast and add depth. Additionally, mixing different colors of glitter can result in a unique blend that reflects your personal style. It is advisable to experiment with various combinations to discover what resonates with you.
Moreover, the addition of colorants can further enhance the customization of your glitter slime. Food coloring is a popular choice, as it allows you to achieve vibrant hues that complement or contrast with the glitter. When adding food coloring, it is essential to start with a small amount and gradually increase it until you reach your desired shade. This method not only ensures that you achieve the perfect color but also prevents the slime from becoming overly saturated, which could affect its texture. Furthermore, consider using natural colorants, such as beet juice or turmeric, for a more organic approach to coloring your slime.
In addition to glitter and color, incorporating scents can elevate the sensory experience of your slime. Essential oils or fragrance oils can be added to the mixture, providing a delightful aroma that enhances playtime. When selecting scents, it is important to choose those that are safe for skin contact, especially if children will be using the slime. Popular choices include lavender for a calming effect or citrus scents for an invigorating experience. Just a few drops can transform your slime into a multi-sensory delight.
Another aspect of customization involves the texture of the slime itself. By adjusting the ratios of the ingredients, you can create variations such as fluffy slime, which incorporates shaving cream for a light and airy texture, or butter slime, which uses clay to achieve a smooth and spreadable consistency. Each variation offers a different tactile experience, allowing you to tailor your slime to your preferences.
Finally, consider the storage and presentation of your glitter slime. Using clear containers not only showcases the vibrant colors and glitter but also allows for easy access and organization. Labeling the containers can add a personal touch and help keep track of different slime varieties. By following these tips for customization, you can create a unique glitter slime that reflects your individual style and preferences, making the crafting experience even more enjoyable. Ultimately, the possibilities are endless, and the only limit is your imagination.
Q&A
1. **What ingredients do I need to make glitter slime?**
You will need white school glue, baking soda, contact lens solution, water, and glitter.
2. **What is the process for making glitter slime?**
Mix 1 cup of glue with 1/2 cup of water, add 1/2 teaspoon of baking soda, stir in your desired amount of glitter, and then add 1 tablespoon of contact lens solution until the mixture starts to form slime.
3. **How do I store my glitter slime?**
Store your glitter slime in an airtight container at room temperature to keep it from drying out.To make your own glitter slime at home, combine equal parts of white school glue and water in a bowl, then mix in your desired amount of glitter. In a separate container, mix a solution of baking soda and water, then gradually add it to the glue mixture while stirring until the slime reaches your preferred consistency. Finally, knead the slime until it becomes smooth and stretchy. Store it in an airtight container to keep it fresh. Enjoy your homemade glitter slime!