-
Table of Contents
“Sparkle Secure: Your Step-by-Step Guide to Sealing Glitter on Glass!”
Sealing glitter on glass is a popular technique for creating stunning decorative items that sparkle and shine. Whether you’re personalizing a glass vase, crafting unique ornaments, or designing custom drinkware, sealing glitter ensures that your project remains vibrant and intact over time. This step-by-step guide will walk you through the essential materials and methods needed to effectively seal glitter on glass surfaces, providing you with tips for achieving a professional finish and ensuring durability. With the right approach, you can elevate your glass crafts and enjoy their beauty for years to come.
Choosing the Right Sealant for Glitter on Glass
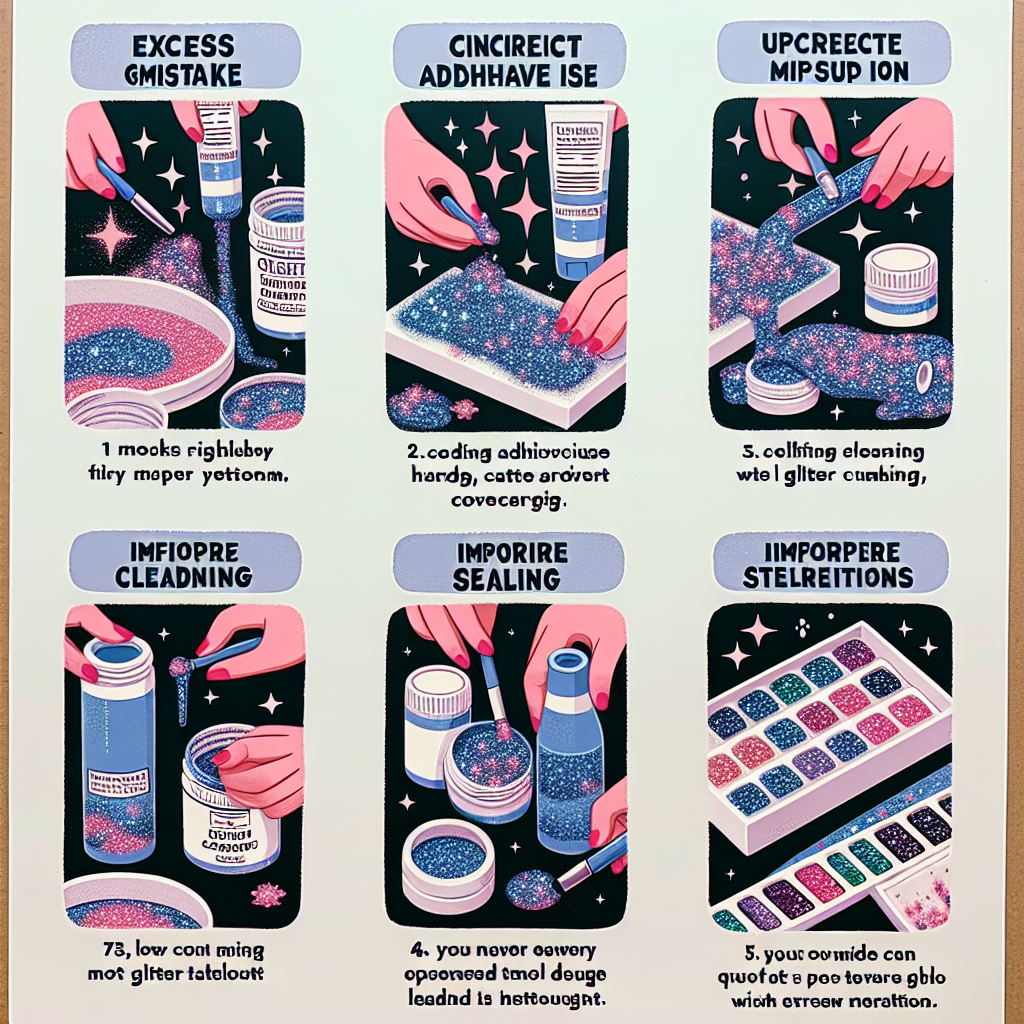
When it comes to sealing glitter on glass, selecting the appropriate sealant is crucial for achieving a durable and aesthetically pleasing finish. The right sealant not only protects the glitter from wear and tear but also enhances the overall appearance of the project. To begin with, it is essential to consider the type of glitter being used. There are various types of glitter available, including fine, chunky, and holographic, each of which may require a different approach to sealing. Fine glitter, for instance, tends to adhere more easily to surfaces and may require a lighter sealant, while chunky glitter may necessitate a thicker application to ensure that all edges are properly covered.
In addition to the type of glitter, the intended use of the glass item should also influence the choice of sealant. For decorative pieces that will not be subjected to frequent handling or washing, a basic craft sealant may suffice. However, for items that will be used regularly, such as drinkware or serving dishes, it is advisable to opt for a sealant that is both waterproof and food-safe. This ensures that the glitter remains intact and does not pose any health risks. Furthermore, it is important to check the label of the sealant for any specific instructions regarding its compatibility with glass surfaces, as some products may not adhere well to non-porous materials.
Moreover, the application method of the sealant can vary significantly depending on the product chosen. Spray sealants, for example, offer a convenient and even application, making them ideal for larger projects or intricate designs. On the other hand, liquid sealants applied with a brush or sponge allow for more control, particularly when working on smaller areas or detailed patterns. Regardless of the application method, it is essential to work in a well-ventilated area to avoid inhaling any fumes, especially when using spray products.
As you consider your options, it is also beneficial to think about the finish you desire. Some sealants dry clear and glossy, enhancing the sparkle of the glitter, while others may dry matte or satin, providing a more subdued look. This choice can significantly impact the final appearance of your project, so it is advisable to test a small area first to see how the sealant interacts with the glitter and glass. Additionally, some sealants may require multiple coats for optimal protection, so be prepared to invest time in the sealing process to achieve the best results.
Finally, it is worth noting that while many sealants are designed to be permanent, some may require reapplication over time, especially if the item is frequently used or exposed to moisture. Therefore, it is prudent to keep this in mind when planning your project. By carefully selecting the right sealant based on the type of glitter, intended use, application method, and desired finish, you can ensure that your glittered glass items remain beautiful and intact for years to come. In conclusion, taking the time to choose the appropriate sealant is a vital step in the process of sealing glitter on glass, ultimately leading to a successful and satisfying crafting experience.
Preparing the Glass Surface for Glitter Application
Preparing the glass surface for glitter application is a crucial step that significantly influences the final outcome of your project. To achieve a smooth and durable finish, it is essential to start with a clean and properly prepped surface. The first step in this process involves selecting the right type of glass. Whether you are working with a vase, a picture frame, or any other glass item, ensure that it is free from any cracks or imperfections, as these can affect the adhesion of the glitter and the overall aesthetic of the finished piece.
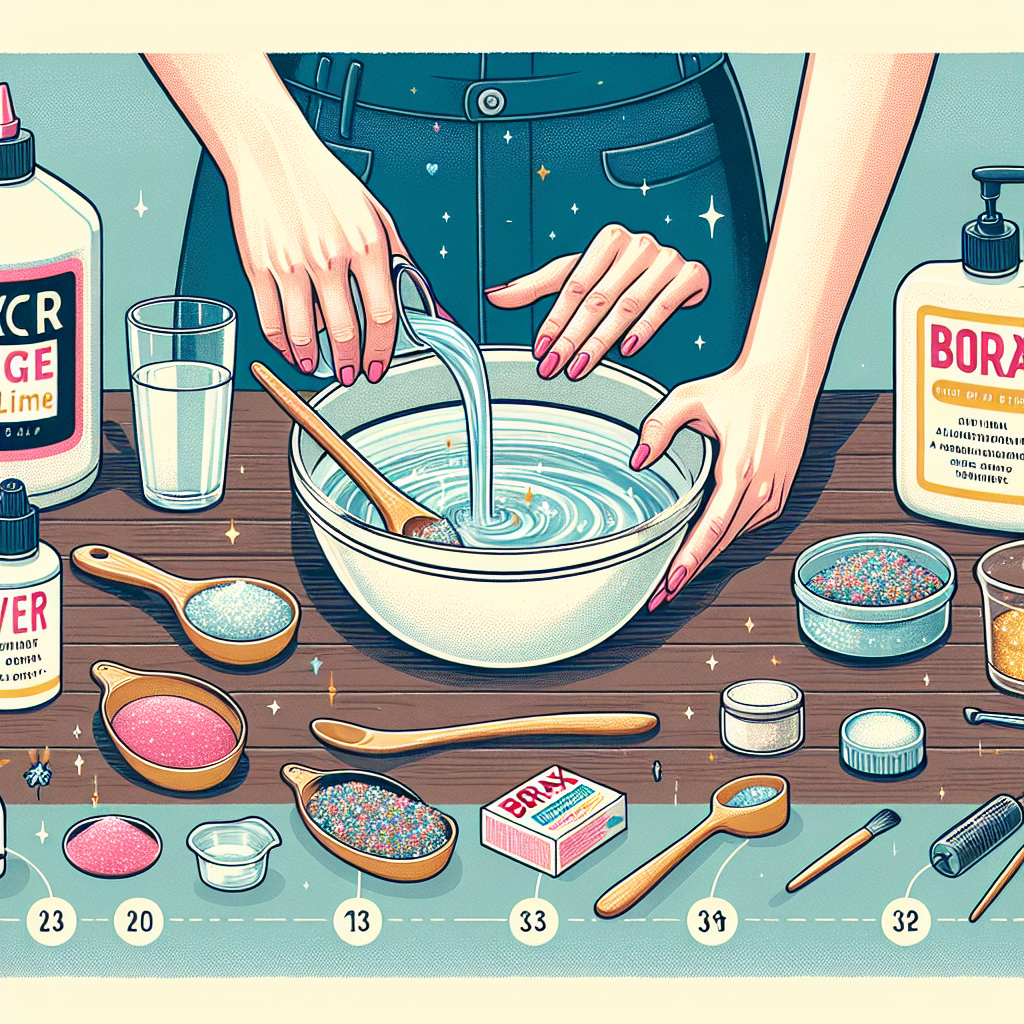
Once you have chosen your glass item, the next step is to thoroughly clean the surface. This is vital because any dust, grease, or residue can prevent the glitter from adhering properly. To clean the glass, use a mixture of warm water and mild dish soap. A soft cloth or sponge can be employed to gently scrub the surface, ensuring that all areas are addressed. After cleaning, it is important to rinse the glass with clean water to remove any soap residue, which could interfere with the glitter application. Following the rinse, dry the glass completely with a lint-free cloth or paper towel to avoid any streaks or water spots.
After the glass is clean and dry, the next phase involves preparing the surface for the glitter. This can be achieved by applying a primer or adhesive that is suitable for glass. A clear acrylic sealer or a specialized glass adhesive can work effectively in this regard. Applying a primer not only enhances the adhesion of the glitter but also provides a uniform base that can improve the overall appearance of the finished product. When applying the primer, use a clean brush or sponge to ensure an even coat. It is advisable to work in small sections to maintain control and prevent the primer from drying before the glitter is applied.
Once the primer has been applied, allow it to dry completely according to the manufacturer’s instructions. This drying time is crucial, as applying glitter to a wet surface can lead to uneven distribution and clumping. After the primer has dried, you may choose to lightly sand the surface with fine-grit sandpaper. This step is optional but can enhance the texture of the glass, providing additional grip for the glitter. If you decide to sand, be sure to wipe away any dust particles with a clean cloth before proceeding.
With the glass surface now prepared, you are ready to move on to the glitter application process. However, it is important to consider the type of glitter you will be using. Fine glitter tends to adhere better to smooth surfaces, while larger glitter particles can create a more textured look. Additionally, selecting a color that complements your project will enhance the overall aesthetic. As you prepare to apply the glitter, gather all necessary materials, including a clean workspace, adhesive, and the glitter itself.
In conclusion, preparing the glass surface for glitter application is a fundamental step that requires careful attention to detail. By ensuring that the glass is clean, applying a suitable primer, and allowing adequate drying time, you set the stage for a successful glitter project. This meticulous preparation not only enhances the adhesion of the glitter but also contributes to the durability and visual appeal of the final product. With these steps completed, you can confidently proceed to the glitter application, knowing that you have laid a solid foundation for your creative endeavor.
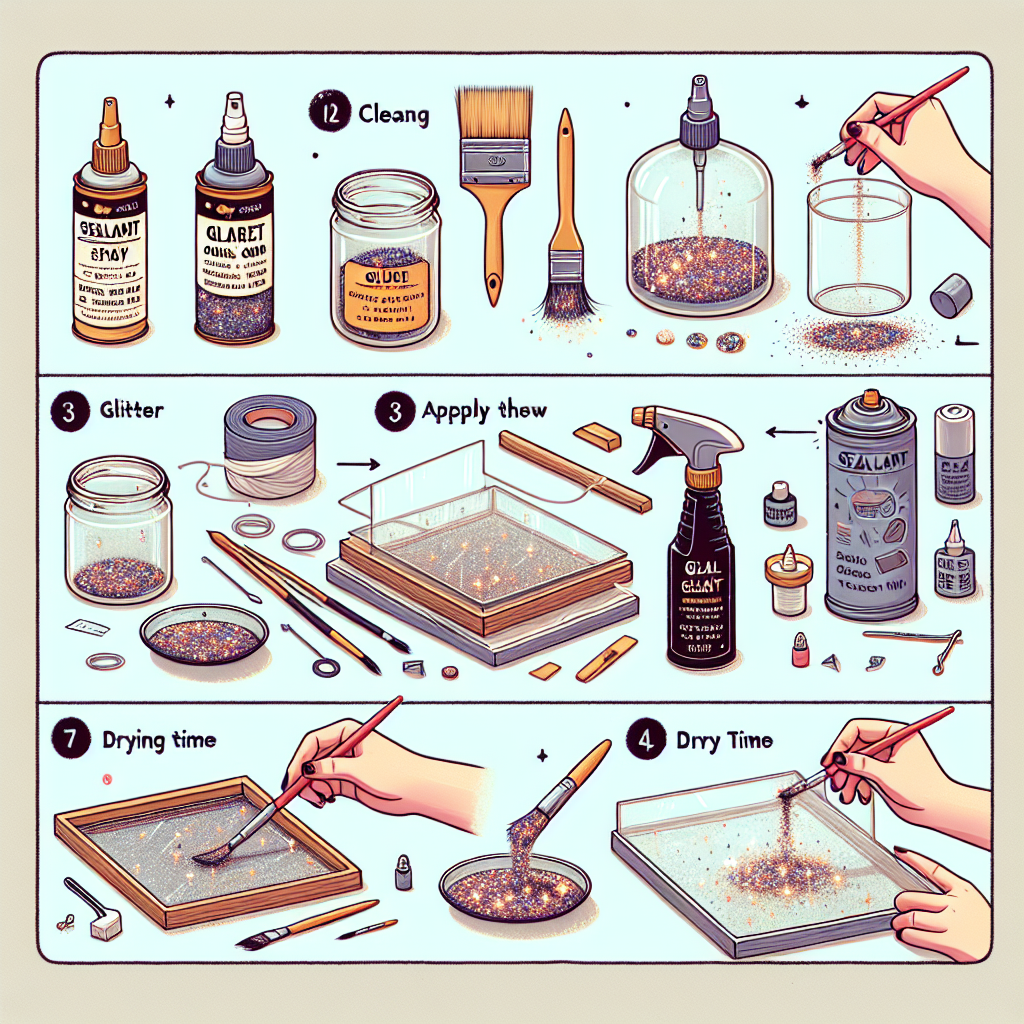
Step-by-Step Process to Seal Glitter on Glass
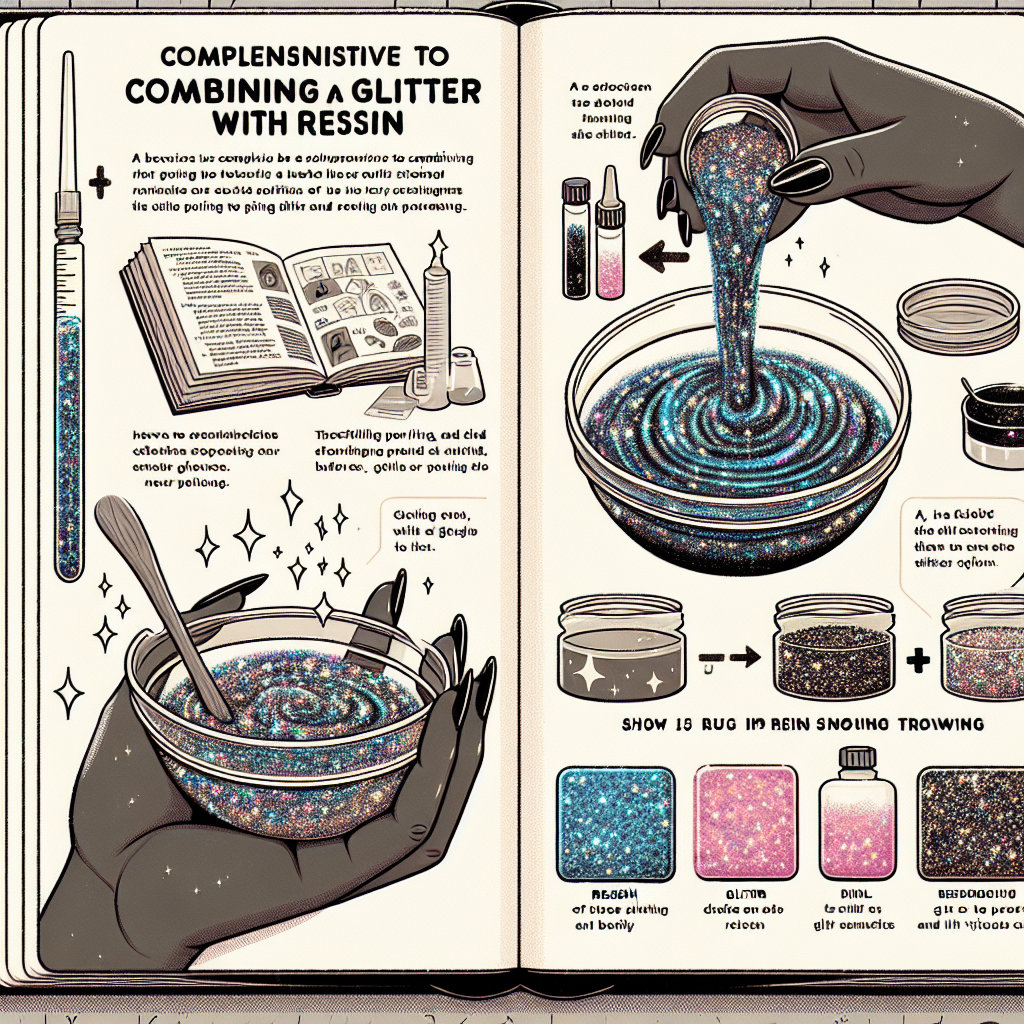
Sealing glitter on glass is a meticulous process that requires attention to detail and the right materials to ensure a durable and aesthetically pleasing finish. To begin, it is essential to gather all necessary supplies, which typically include a clean glass surface, glitter of your choice, a suitable adhesive, and a sealant. The adhesive can be a mod podge, clear-drying craft glue, or any other product specifically designed for use on glass. Additionally, a clear acrylic spray or a brush-on sealant will be required to protect the glitter once it has been applied.
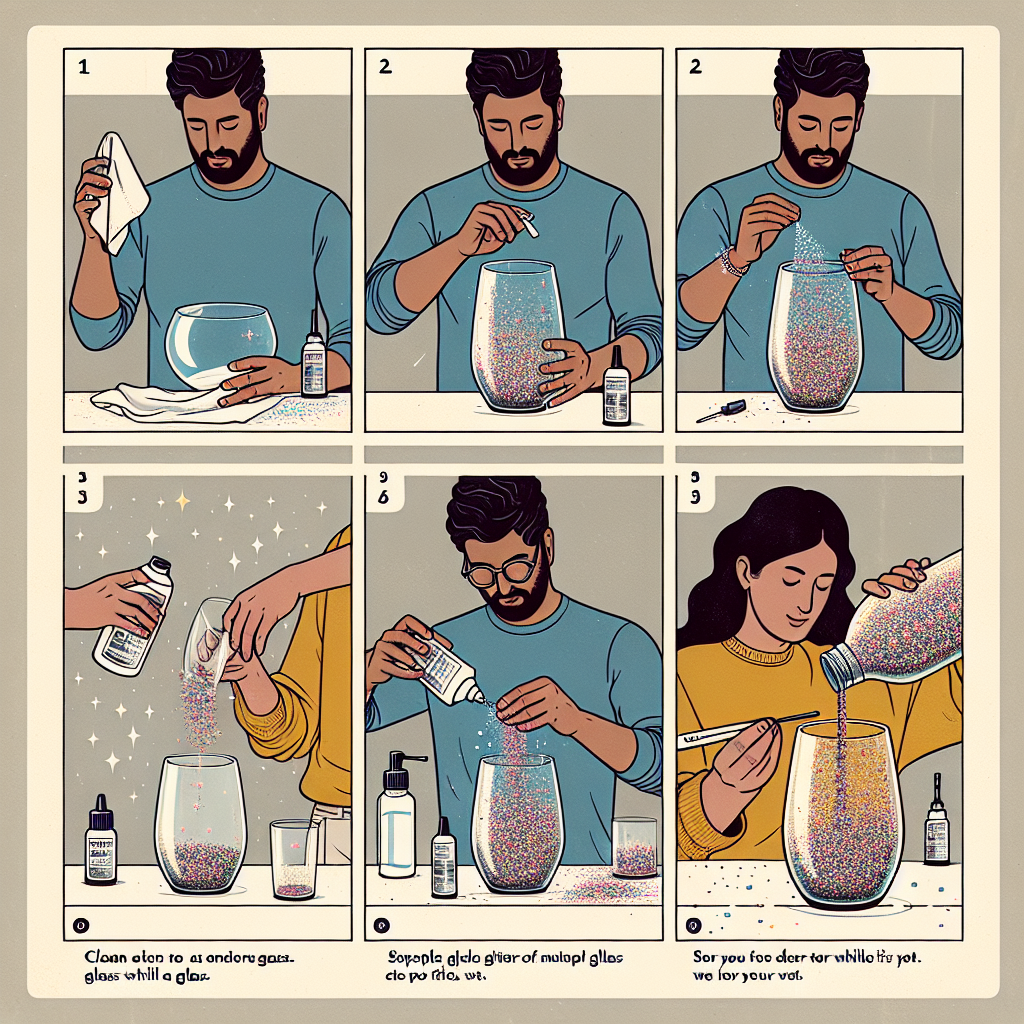
Once you have assembled your materials, the first step is to prepare the glass surface. This involves cleaning the glass thoroughly to remove any dust, fingerprints, or oils that may interfere with the adhesion of the glitter. A simple solution of warm soapy water or rubbing alcohol can be used for this purpose. After cleaning, it is crucial to allow the glass to dry completely before proceeding to the next step. This ensures that the adhesive will bond effectively to the surface.
With the glass prepared, the next step is to apply the adhesive. Using a brush or sponge, evenly coat the area where you wish to apply the glitter. It is advisable to work in small sections to prevent the adhesive from drying out before you can apply the glitter. Once the adhesive is applied, it is time to sprinkle the glitter over the wet surface. It is best to do this over a tray or newspaper to catch any excess glitter, which can be reused later. Gently tap the glass to help the glitter settle into the adhesive, ensuring an even distribution.
After the glitter has been applied, allow it to dry according to the adhesive manufacturer’s instructions. This drying time is crucial, as it allows the glitter to bond securely to the glass. Once the initial layer is dry, you may choose to add additional layers of glitter for a more vibrant effect. If you opt for this, repeat the process of applying adhesive and glitter, allowing each layer to dry completely before adding the next.
Once you are satisfied with the amount of glitter on your glass piece, the next step is to seal it. Sealing is essential to protect the glitter from wear and tear, as well as to prevent it from flaking off over time. If you are using a spray sealant, hold the can approximately 6-12 inches away from the surface and apply a light, even coat. It is advisable to apply multiple thin coats rather than one thick coat to avoid drips and ensure an even finish. Allow each coat to dry completely before applying the next.
Alternatively, if you are using a brush-on sealant, apply it gently over the glittered area using a clean brush. Be cautious not to disturb the glitter as you apply the sealant. After the final coat of sealant has dried, inspect the glass for any areas that may need touch-ups. If necessary, you can apply additional sealant to those areas.
In conclusion, sealing glitter on glass is a straightforward process that, when executed with care, can yield beautiful and lasting results. By following these steps—preparing the surface, applying adhesive and glitter, and sealing the finished product—you can create stunning decorative pieces that showcase your creativity while ensuring durability. With patience and attention to detail, your glittered glass items will shine brightly for years to come.
Q&A
1. **What materials do I need to seal glitter on glass?**
You will need clear acrylic sealer spray or Mod Podge, a paintbrush (if using Mod Podge), glitter, and a clean glass surface.
2. **What is the first step in sealing glitter on glass?**
Clean the glass surface thoroughly to remove any dust or grease, ensuring the glitter adheres properly.
3. **How do I apply the sealer after adding glitter?**
If using spray sealer, hold the can about 6-12 inches away and spray a light, even coat over the glitter. If using Mod Podge, apply a thin layer over the glitter with a paintbrush and allow it to dry completely.To seal glitter on glass effectively, first ensure the surface is clean and dry. Apply a layer of adhesive, such as Mod Podge or a clear-drying glue, to the area where the glitter will be placed. Sprinkle the glitter evenly over the adhesive and allow it to dry completely. Once dry, apply a second layer of adhesive over the glitter to secure it in place and prevent shedding. After this layer dries, finish with a clear sealant spray for added protection. Allow everything to cure fully before using the glass item. This method ensures a durable and visually appealing finish that keeps the glitter intact.