-
Table of Contents
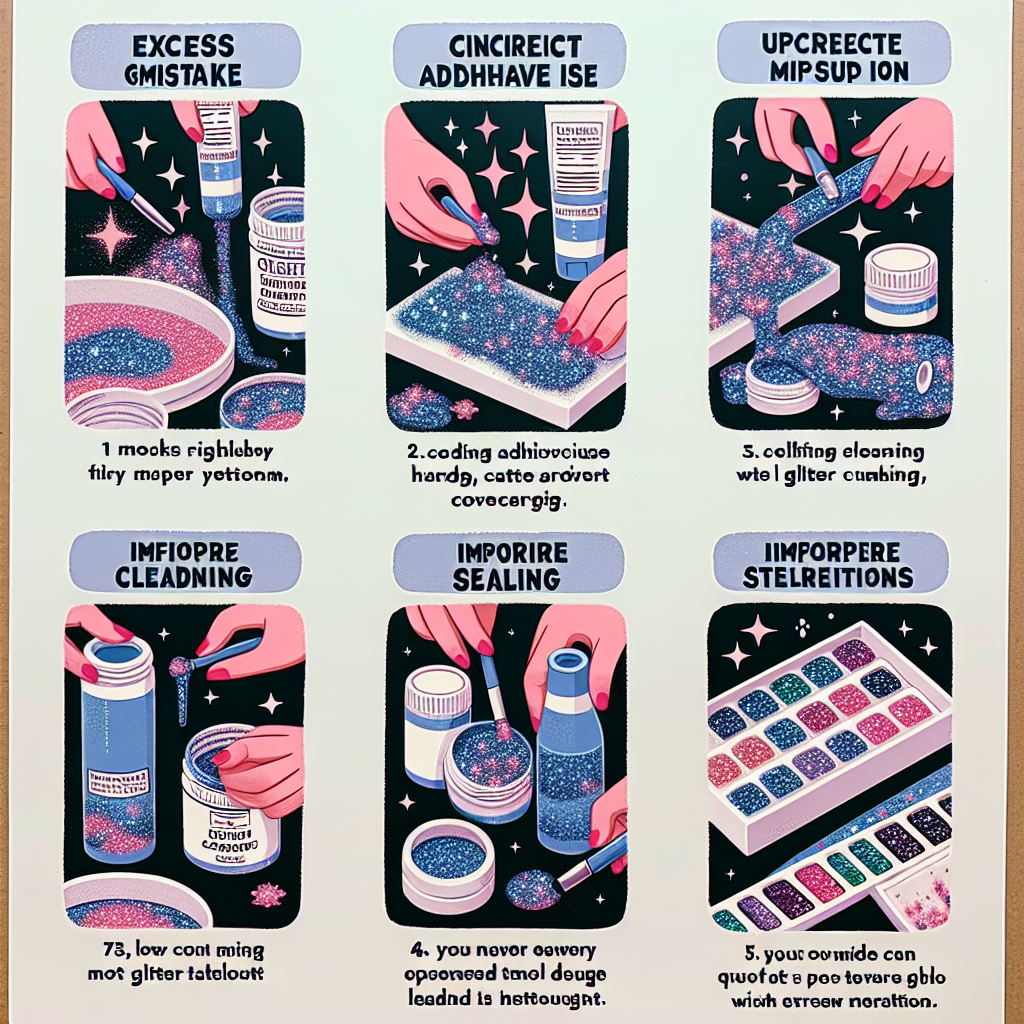
“Sparkle Smart: Avoid These 5 Common Glitter Craft Mistakes for Flawless Creations!”
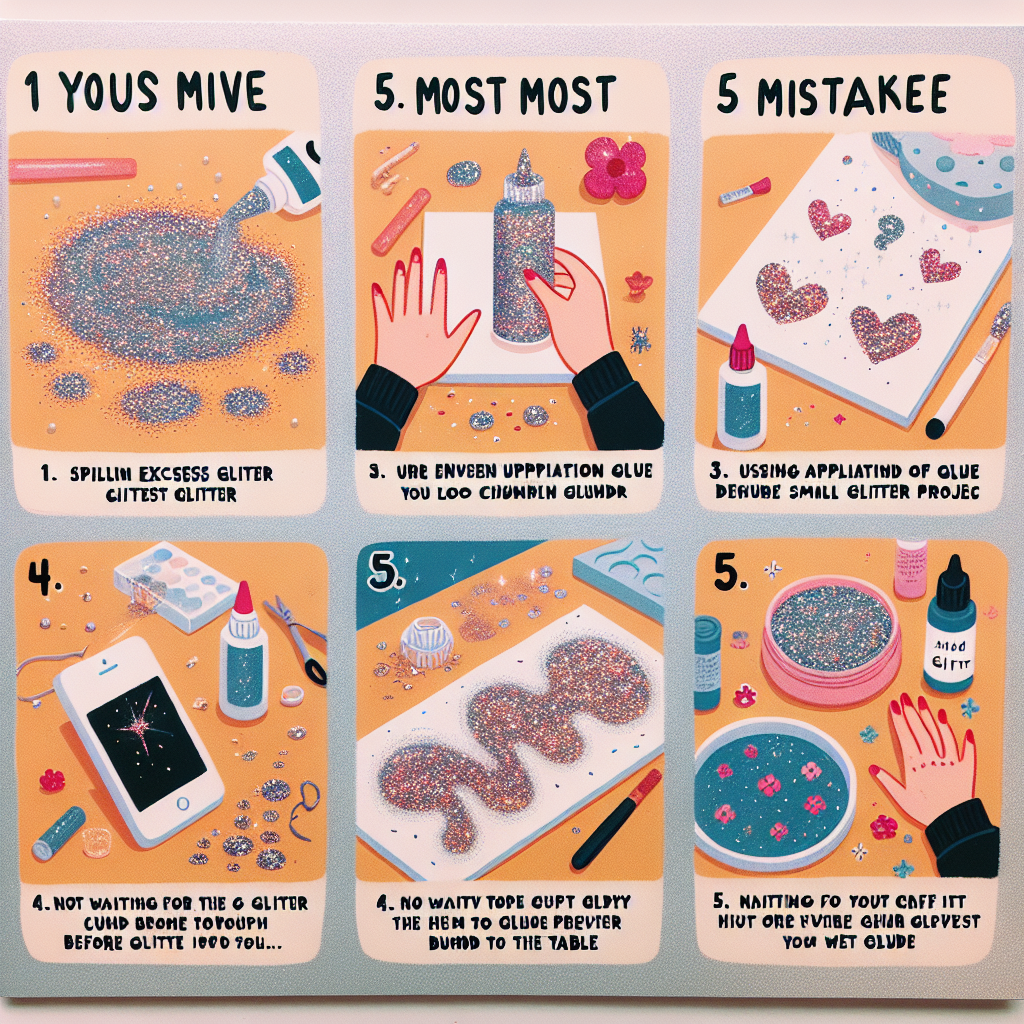
Glitter crafts are a popular and fun way to add sparkle and creativity to various projects, but they can also lead to frustration if not executed properly. Many crafters, both beginners and experienced, often encounter common pitfalls that can detract from their artistic vision. This introduction highlights five common mistakes in glitter crafts, such as improper adhesive selection, overuse of glitter, inadequate surface preparation, neglecting to seal the finished product, and failing to manage glitter fallout. By understanding these mistakes and learning how to avoid them, crafters can enhance their skills and achieve stunning, glittering results in their projects.
Overusing Glitter: How to Find the Right Balance
Glitter crafts have gained immense popularity due to their ability to add sparkle and vibrancy to various projects. However, one of the most common pitfalls in glitter crafting is the tendency to overuse glitter, which can lead to overwhelming results and detract from the intended aesthetic. Finding the right balance is crucial for achieving a polished and visually appealing outcome. To navigate this challenge, it is essential to understand the implications of excessive glitter application and explore strategies for moderation.
When embarking on a glitter project, it is vital to consider the overall design and purpose of the craft. Overloading a piece with glitter can create a chaotic appearance, overshadowing the intricate details and craftsmanship that may be present. For instance, in a card-making project, a subtle sprinkle of glitter can enhance the design, drawing attention to specific elements, whereas an excessive application may result in a distracting and cluttered look. Therefore, it is advisable to start with a minimal amount of glitter and gradually build up, allowing for adjustments as needed.
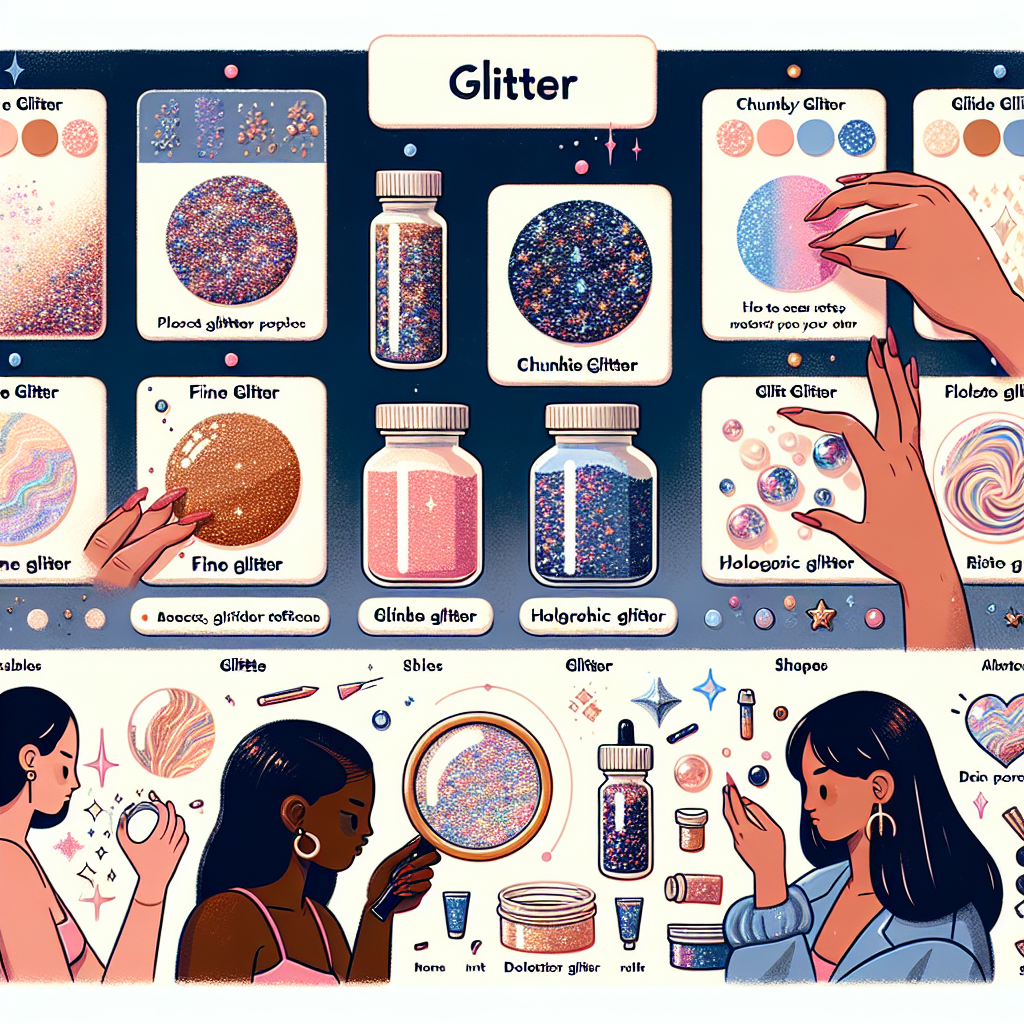
Moreover, the type of glitter used can significantly influence the final outcome. There are various forms of glitter available, ranging from fine to chunky, each serving different purposes. Fine glitter tends to provide a more delicate shimmer, making it suitable for intricate designs, while chunky glitter can create a bold statement. However, using too much chunky glitter can overwhelm a project, making it appear less refined. To avoid this, it is beneficial to mix different types of glitter or to use chunky glitter sparingly as an accent rather than the main feature.
In addition to considering the type of glitter, the application technique plays a crucial role in achieving balance. Applying glitter in layers can help control the amount used and allow for a more intentional design. For example, when decorating a surface, one might first apply a layer of adhesive and then sprinkle a light dusting of glitter. After allowing the first layer to dry, additional layers can be added if desired. This method not only helps in managing the quantity of glitter but also provides an opportunity to assess the visual impact at each stage.
Furthermore, it is essential to think about the context in which the glittered item will be displayed. The surrounding environment can greatly affect how glitter is perceived. For instance, a glittery decoration in a well-lit area may appear more vibrant than the same piece in a dimly lit space. Therefore, considering the lighting and background can help in determining the appropriate amount of glitter to use. A well-balanced glitter application will harmonize with its surroundings rather than clash or compete for attention.
Lastly, it is important to remember that less can often be more. Embracing simplicity can lead to elegant and sophisticated results. By focusing on key areas to highlight with glitter, crafters can create a focal point that draws the eye without overwhelming the viewer. This approach not only enhances the overall aesthetic but also allows the craftsmanship and creativity to shine through.
In conclusion, while glitter can undoubtedly elevate a craft project, overusing it can lead to undesirable outcomes. By understanding the importance of moderation, selecting the right type of glitter, employing thoughtful application techniques, considering the display context, and embracing simplicity, crafters can achieve a harmonious balance that enhances their creations. Ultimately, the goal is to create a visually appealing piece that reflects both creativity and intention, allowing the beauty of glitter to shine without overshadowing the craft itself.
Ignoring Surface Preparation: Tips for a Smooth Finish
When engaging in glitter crafts, one of the most critical yet often overlooked aspects is surface preparation. Many crafters dive straight into their projects, eager to apply glitter without considering the importance of a well-prepared surface. This oversight can lead to a variety of issues, including uneven application, poor adhesion, and ultimately, a less-than-satisfactory finish. To achieve a polished and professional look in your glitter projects, it is essential to understand the significance of proper surface preparation and the steps necessary to ensure a smooth finish.
To begin with, the type of surface you are working with plays a crucial role in the outcome of your glitter craft. Different materials, such as wood, plastic, glass, or fabric, require specific preparation techniques. For instance, when working with wood, it is advisable to sand the surface lightly to create a smooth texture. This not only helps the glitter adhere better but also minimizes the risk of splinters or rough edges that can detract from the overall appearance. On the other hand, if you are using a plastic surface, cleaning it thoroughly with rubbing alcohol can remove any oils or residues that may prevent the glitter from sticking effectively.
Moreover, applying a primer or base coat can significantly enhance the adhesion of glitter to the surface. A primer creates a suitable foundation that allows the glitter to bond more effectively, resulting in a more durable finish. For example, when working with glass, using a clear acrylic spray or a specialized adhesive can provide an excellent base for glitter application. This step is particularly important for projects that will be handled frequently or exposed to moisture, as it helps to ensure that the glitter remains intact over time.
In addition to selecting the right surface and applying a primer, it is essential to consider the application technique. Many crafters make the mistake of applying glitter too thickly, which can lead to clumping and an uneven finish. Instead, it is advisable to apply a thin layer of adhesive and then sprinkle the glitter evenly over the surface. This method not only allows for better control but also ensures that the glitter adheres uniformly, resulting in a more aesthetically pleasing outcome. After applying the glitter, gently tap off any excess to avoid a messy appearance.
Furthermore, allowing adequate drying time is another critical factor in achieving a smooth finish. Rushing this process can lead to smudging or uneven glitter distribution. It is recommended to let the adhesive dry completely before applying additional layers or handling the project. This patience pays off, as it ensures that the glitter remains securely in place and maintains its intended look.
Finally, sealing your glitter project is an essential step that should not be overlooked. A clear sealant can protect the glitter from wear and tear, as well as prevent it from shedding over time. Applying a sealant not only enhances the durability of your craft but also provides a polished finish that elevates the overall appearance.
In conclusion, proper surface preparation is vital for achieving a successful glitter craft. By taking the time to select the right materials, applying a suitable primer, using effective application techniques, allowing for adequate drying time, and sealing your project, you can avoid common pitfalls and create stunning glitter crafts that are both beautiful and long-lasting. With these tips in mind, you can elevate your crafting experience and enjoy the vibrant world of glitter with confidence.
Skipping Sealing Techniques: Protecting Your Glitter Projects
When engaging in glitter crafts, one of the most common oversights is the failure to implement proper sealing techniques. This crucial step not only enhances the longevity of your projects but also preserves their aesthetic appeal. Without adequate sealing, glitter can easily flake off, leading to a disappointing and messy outcome. Therefore, understanding the importance of sealing and the methods available can significantly improve the quality of your glitter crafts.
To begin with, it is essential to recognize that glitter, while visually captivating, is inherently prone to shedding. This shedding can occur during the crafting process or even after the project is completed. Consequently, applying a sealant is vital to ensure that the glitter remains intact and vibrant over time. Many crafters mistakenly believe that a simple application of glue will suffice; however, this is often not the case. While glue can initially hold the glitter in place, it may not provide the necessary protection against wear and tear. Therefore, opting for a dedicated sealant is advisable.
There are various types of sealants available, each with its unique properties. For instance, spray sealants are popular for their ease of application and ability to cover large areas uniformly. When using a spray sealant, it is crucial to apply it in a well-ventilated area to avoid inhaling fumes. Additionally, maintaining a consistent distance from the project while spraying ensures an even coat, preventing drips and uneven coverage. On the other hand, liquid sealants can be applied with a brush or sponge, allowing for more precise control, especially on intricate designs. Regardless of the type chosen, it is important to follow the manufacturer’s instructions regarding drying times and application techniques.
Moreover, another common mistake is neglecting to seal the underside of the project. Many crafters focus solely on the visible surfaces, assuming that the glitter will remain secure without additional protection. However, the underside is equally susceptible to wear, especially if the item is handled frequently or exposed to environmental factors. Therefore, taking the time to seal all surfaces, including the underside, can significantly enhance the durability of the project.
In addition to choosing the right sealant, timing is also a critical factor in the sealing process. Applying the sealant too soon can disturb the glitter, causing it to shift or clump together. Conversely, waiting too long may result in the glitter becoming loose and difficult to manage. A good rule of thumb is to allow the glue or adhesive to dry completely before applying the sealant. This ensures that the glitter is securely in place, providing a solid foundation for the protective layer.
Finally, it is worth noting that some crafters may overlook the importance of testing the sealant on a small area before applying it to the entire project. This precautionary step can help identify any potential reactions between the sealant and the materials used, preventing unforeseen damage. By taking the time to test, crafters can ensure that their projects maintain their intended appearance and integrity.
In conclusion, skipping sealing techniques is a prevalent mistake in glitter crafts that can lead to unsatisfactory results. By understanding the importance of sealing, selecting the appropriate sealant, ensuring comprehensive coverage, timing the application correctly, and conducting preliminary tests, crafters can significantly enhance the durability and beauty of their glitter projects. Ultimately, these practices not only protect the investment of time and materials but also elevate the overall quality of the finished work.
Q&A
1. **Question:** What is a common mistake when choosing glitter for crafts?
**Answer:** Using the wrong type of glitter; avoid using craft glitter for projects that require durability, and opt for fine or extra-fine glitter for a smoother finish.
2. **Question:** How can improper application of glue lead to issues in glitter crafts?
**Answer:** Applying too much glue can cause clumping and uneven coverage; use a thin, even layer of glue to ensure a smooth application of glitter.
3. **Question:** What mistake do crafters often make regarding sealing glitter?
**Answer:** Failing to seal the glitter properly can lead to shedding; always use a clear sealant or spray to lock in the glitter and prevent it from coming off.In conclusion, avoiding common mistakes in glitter crafts, such as using the wrong adhesive, not preparing the surface properly, overusing glitter, neglecting to seal the project, and failing to protect the workspace, can significantly enhance the quality and longevity of your creations. By being mindful of these pitfalls and implementing best practices, crafters can achieve more polished and successful results in their glitter projects.