-
Table of Contents
“Sparkle Your Style: Create Stunning DIY Glitter Phone Cases with Epoxy Resin!”
Create a stunning and personalized phone case with our DIY Glitter Phone Case Tutorial using epoxy resin. This fun and creative project allows you to combine your favorite colors and glitter to design a unique accessory that reflects your style. With just a few materials and simple steps, you can transform a plain phone case into a dazzling piece of art that not only protects your device but also showcases your creativity. Whether you’re a crafting novice or an experienced DIY enthusiast, this tutorial will guide you through the process of making a beautiful glitter phone case that stands out.
Essential Materials for Your DIY Glitter Phone Case with Epoxy Resin
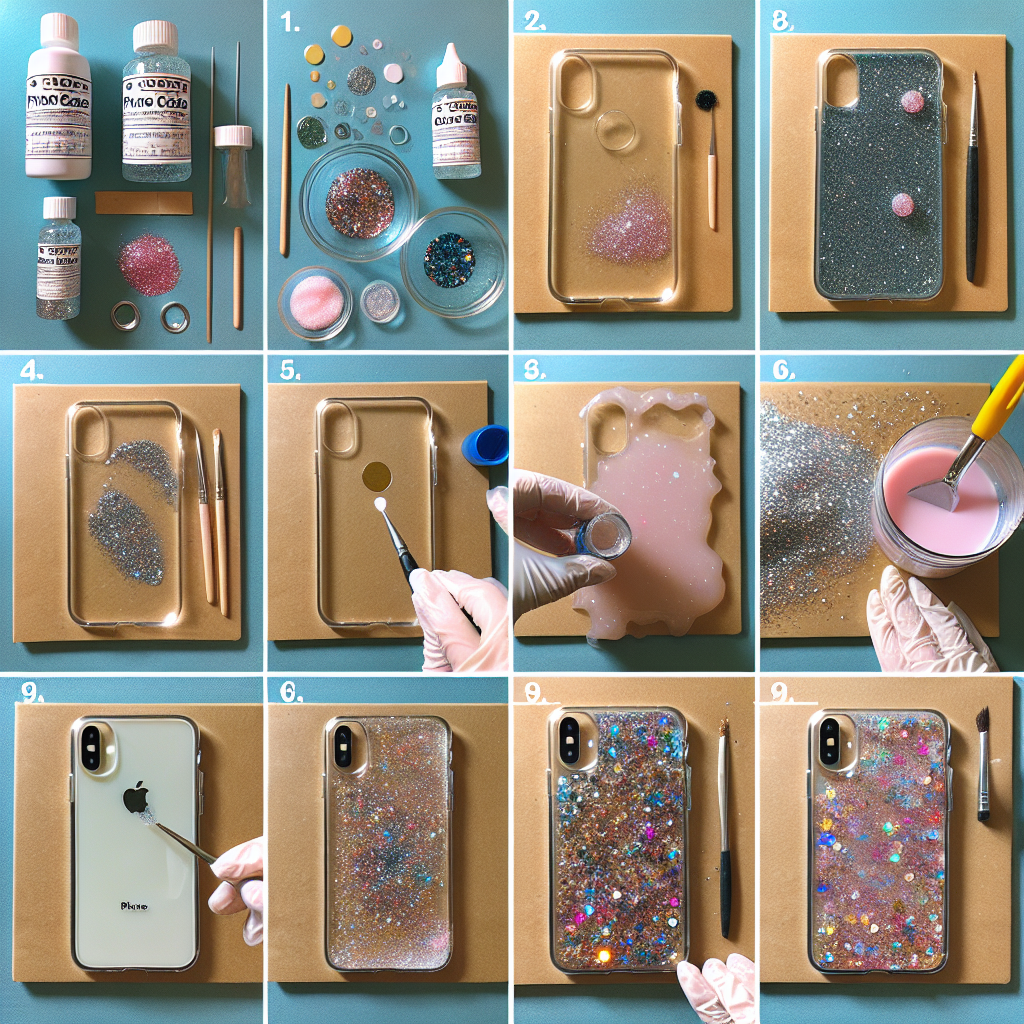
Creating a DIY glitter phone case with epoxy resin is an engaging and rewarding project that allows for personal expression while providing protection for your device. To embark on this creative journey, it is essential to gather the right materials, as they will significantly influence the outcome of your project. First and foremost, you will need a clear epoxy resin kit, which typically includes both resin and hardener. This two-part system is crucial, as it provides the durability and glossy finish that will enhance the visual appeal of your glitter phone case. When selecting your epoxy resin, ensure that it is specifically designed for crafting, as this will guarantee optimal results.
In addition to the epoxy resin, you will require a mixing container and stirring sticks. These items are vital for accurately measuring and combining the resin and hardener. It is advisable to use a disposable container, as the resin can be difficult to clean once it cures. Furthermore, a set of gloves is essential to protect your hands from any potential irritation caused by the resin. While the epoxy is generally safe to use, it is always prudent to take precautions when working with chemical substances.
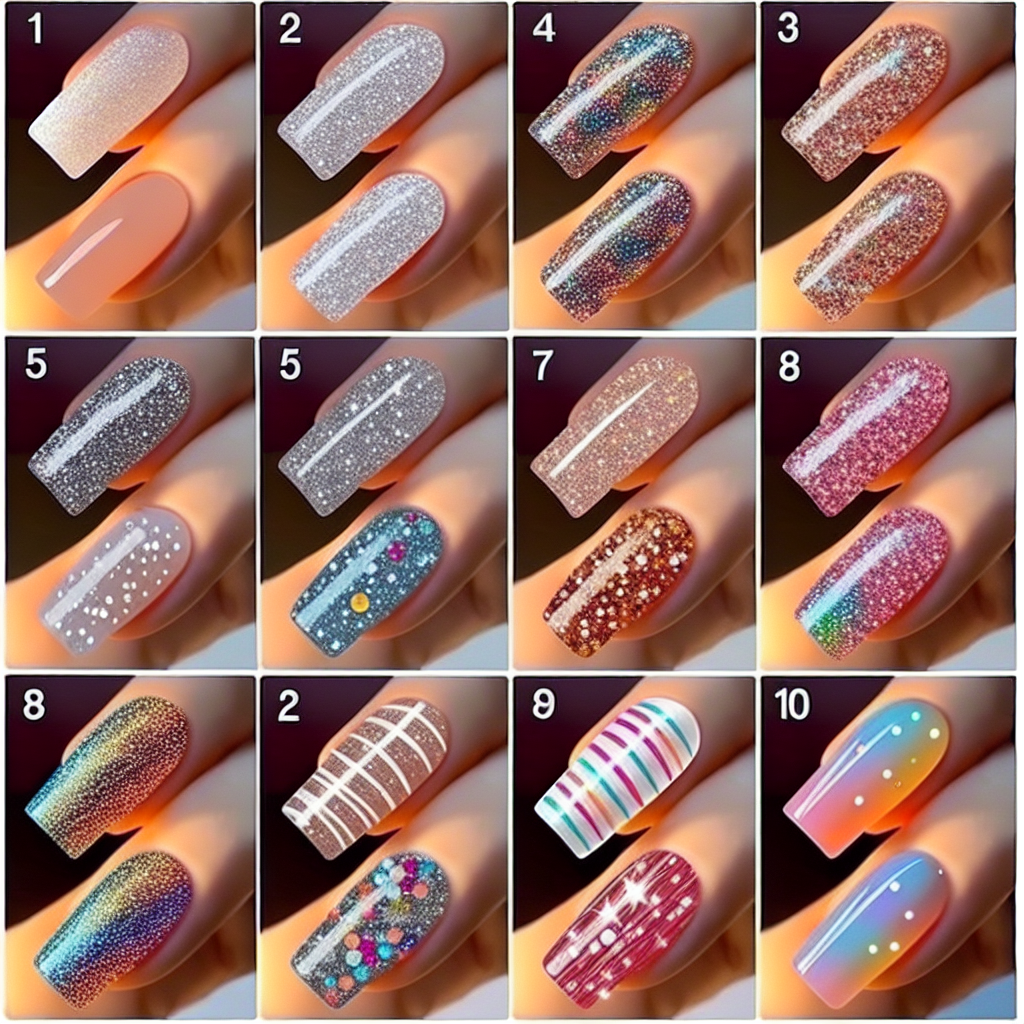
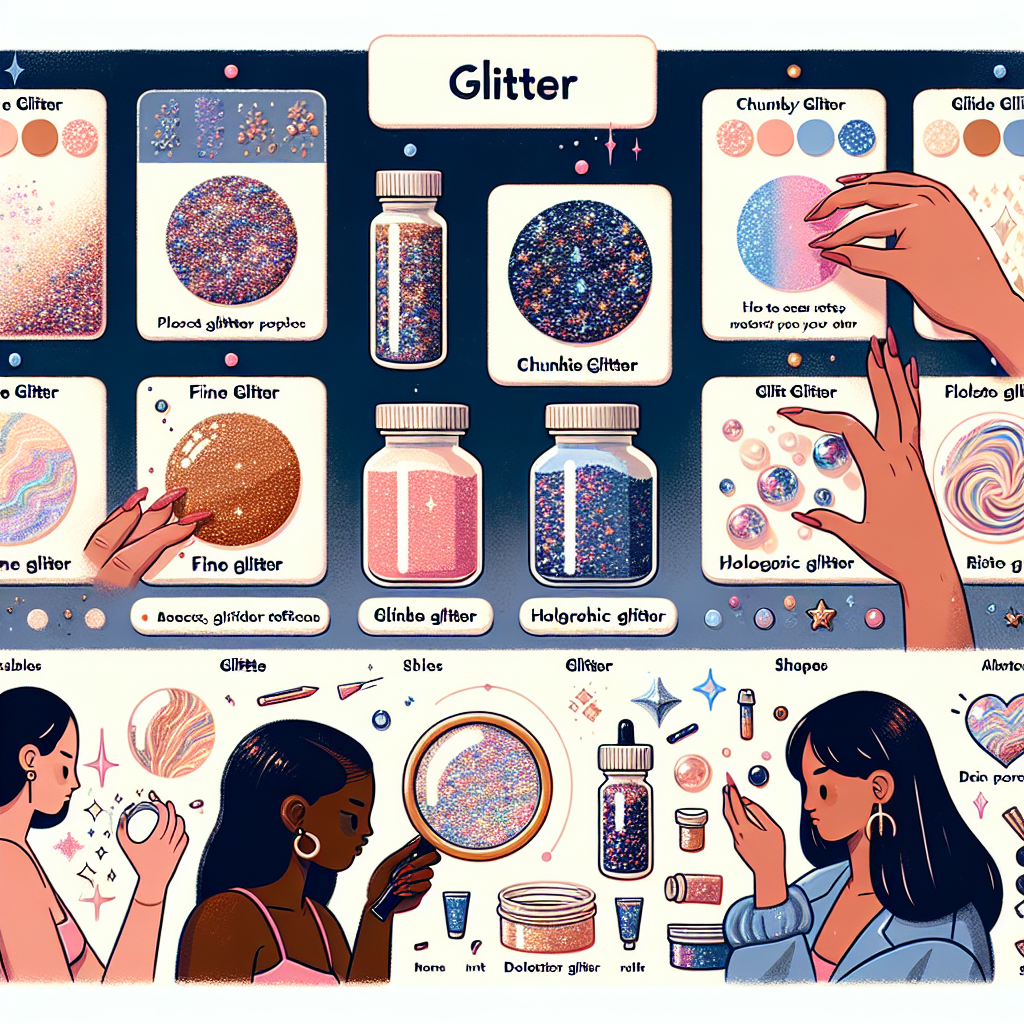
Next, you will need glitter, which is the star of this project. The choice of glitter can dramatically affect the final appearance of your phone case. You may opt for fine glitter for a subtle shimmer or chunky glitter for a more dramatic effect. Additionally, consider the color and type of glitter that best reflects your personal style. Mixing different colors and sizes can create a unique and eye-catching design. Alongside glitter, you might also want to incorporate other embellishments, such as sequins, dried flowers, or small charms, to add depth and interest to your phone case.
To ensure that your glitter adheres properly and that the final product is smooth and professional-looking, you will need a silicone mold specifically designed for phone cases. Silicone molds are advantageous because they allow for easy removal of the cured resin without damaging the finished product. Moreover, they come in various shapes and sizes, so you can choose one that fits your phone model perfectly. If you cannot find a mold that suits your needs, consider using a plain phone case as a base, which can be coated with the resin mixture.
In addition to these primary materials, having a heat gun or a torch on hand can be beneficial. These tools are used to eliminate air bubbles that may form in the resin during the mixing process. By gently applying heat to the surface of the resin, you can achieve a smooth finish, ensuring that your glitter phone case looks polished and professional. Lastly, a protective topcoat can be applied once the resin has cured to enhance durability and provide additional shine.
In conclusion, gathering the essential materials for your DIY glitter phone case with epoxy resin is a crucial step that sets the foundation for a successful project. By carefully selecting high-quality resin, an appropriate mold, and vibrant glitter, you can create a stunning phone case that not only showcases your creativity but also protects your device. With the right tools and a bit of patience, you will be well on your way to crafting a personalized accessory that reflects your unique style.
Step-by-Step Guide to Creating a Stunning Glitter Phone Case
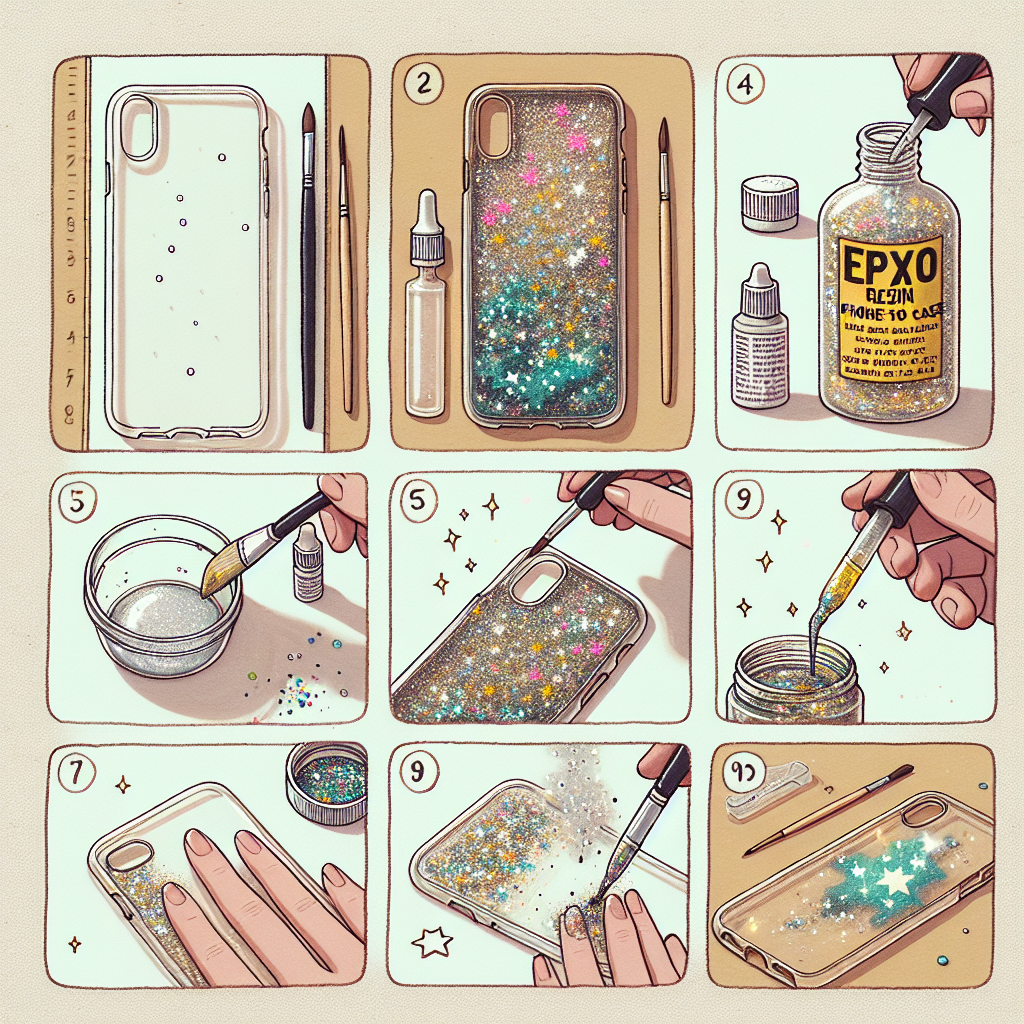
Creating a stunning glitter phone case using epoxy resin is an engaging and rewarding DIY project that allows for personal expression while providing protection for your device. This step-by-step guide will walk you through the process, ensuring that you achieve a beautiful and durable result. To begin, gather all necessary materials, which include a clear phone case, epoxy resin, glitter in your desired colors, mixing cups, stirring sticks, and a heat gun or torch. Additionally, having gloves and a protective workspace will help maintain safety and cleanliness throughout the project.
Once you have assembled your materials, the first step is to prepare your workspace. It is essential to work in a well-ventilated area, as epoxy resin can emit fumes that may be harmful if inhaled. Lay down a protective covering on your work surface to catch any spills or drips. After ensuring your workspace is ready, you can proceed to prepare the epoxy resin according to the manufacturer’s instructions. Typically, this involves mixing equal parts of resin and hardener in a clean mixing cup. Stir the mixture thoroughly for several minutes, ensuring that it is well combined and free of bubbles.
With the epoxy resin prepared, the next step is to add the glitter. This is where you can truly personalize your phone case. Pour a generous amount of glitter into the mixed resin and stir it in, ensuring an even distribution throughout the mixture. The choice of glitter colors can reflect your personal style, whether you prefer a monochromatic look or a vibrant, multi-colored design. Once the glitter is fully incorporated, you are ready to pour the mixture into the phone case.
Carefully pour the glitter-infused epoxy resin into the clear phone case, starting from one corner and allowing it to flow evenly across the surface. It is important to pour slowly to avoid creating air bubbles, which can mar the final appearance of your phone case. If you notice any bubbles forming, gently use a heat gun or torch to eliminate them. The heat will cause the bubbles to rise to the surface and pop, resulting in a smoother finish. Continue pouring until the case is filled to your desired level, but be cautious not to overfill, as the resin may overflow when it cures.
After pouring the resin, it is crucial to let it cure undisturbed. The curing time can vary depending on the specific epoxy resin used, but it typically takes 24 to 48 hours to fully harden. During this time, it is advisable to keep the case in a dust-free environment to prevent any particles from settling on the surface. Once the resin has cured completely, you can inspect your creation. If there are any rough edges or imperfections, you can gently sand them down with fine-grit sandpaper for a polished finish.
Finally, after ensuring that your glitter phone case is smooth and free of imperfections, it is time to attach it to your phone. The result of your efforts will be a unique and eye-catching accessory that not only protects your device but also showcases your creativity. This DIY glitter phone case project not only enhances your phone’s aesthetic appeal but also serves as a testament to your crafting skills. By following these steps, you can create a stunning piece that reflects your personal style and adds a touch of sparkle to your everyday life.
Tips for Achieving a Professional Finish on Your Epoxy Resin Phone Case
Creating a DIY glitter phone case with epoxy resin can be a rewarding project, allowing for personal expression while also providing a protective layer for your device. However, achieving a professional finish requires attention to detail and a few essential tips. First and foremost, preparation is key. Begin by ensuring that your workspace is clean and free from dust and debris, as these particles can easily become trapped in the resin, compromising the clarity and overall appearance of your finished product. It is advisable to work in a well-ventilated area, as the fumes from epoxy resin can be strong and potentially harmful.
Once your workspace is ready, gather all necessary materials, including epoxy resin, glitter, a mixing cup, a stir stick, and a silicone mold or a clear phone case. It is crucial to follow the manufacturer’s instructions for mixing the resin accurately, as improper ratios can lead to issues such as incomplete curing or a sticky finish. When mixing the resin, take your time to ensure that it is thoroughly combined, as air bubbles can form if the mixture is not adequately blended. To minimize bubbles, consider using a heat gun or a torch to gently pass over the surface of the mixed resin after pouring it into the mold or case. This technique helps to release trapped air, resulting in a smoother finish.
Incorporating glitter into your design can add a stunning visual effect, but it is essential to choose the right type and amount. Fine glitter tends to distribute more evenly throughout the resin, while larger pieces can create a more textured look. Experimenting with different colors and sizes can yield unique results, but moderation is key; too much glitter can overwhelm the design and detract from the overall aesthetic. When adding glitter, mix it into the resin thoroughly to ensure an even distribution before pouring it into the mold or case.
As you pour the resin into your phone case or mold, do so slowly and steadily to avoid creating additional bubbles. If you notice any bubbles forming on the surface after pouring, gently tapping the sides of the mold or case can help them rise to the surface. Additionally, using a toothpick or a small tool to pop any visible bubbles can further enhance the finish. After pouring, it is crucial to allow the resin to cure in a dust-free environment. Covering the project with a box or a plastic container can help protect it from dust and debris while it sets.
Once the resin has fully cured, which typically takes 24 to 48 hours depending on the product used, you can assess the finish. If you notice any imperfections, such as rough edges or uneven surfaces, sanding can be an effective solution. Using fine-grit sandpaper, gently smooth out any rough areas, and be sure to wipe away any dust afterward. For an extra touch of professionalism, consider applying a clear topcoat or sealant to enhance the shine and durability of your phone case.
In conclusion, achieving a professional finish on your DIY glitter phone case with epoxy resin involves careful preparation, attention to detail, and a few strategic techniques. By following these tips, you can create a stunning and personalized accessory that not only protects your phone but also showcases your creativity. With practice and patience, your DIY projects can reflect a level of craftsmanship that rivals commercially produced items.
Q&A
1. **What materials are needed for a DIY glitter phone case with epoxy resin?**
– Clear epoxy resin, hardener, glitter, a silicone phone case, mixing cups, stirring sticks, gloves, and a heat gun or torch.
2. **How do you prepare the epoxy resin for the glitter phone case?**
– Mix the epoxy resin and hardener according to the manufacturer’s instructions, typically in a 1:1 ratio, and stir thoroughly for several minutes until well combined.
3. **What is the process for applying glitter to the phone case?**
– Pour the mixed epoxy resin into the silicone phone case, add the desired amount of glitter, stir to distribute evenly, and then let it cure according to the resin’s instructions, usually 24 hours.In conclusion, creating a DIY glitter phone case with epoxy resin is a fun and creative project that allows for personalization and artistic expression. The process involves selecting your desired glitter, mixing it with epoxy resin, and carefully applying it to a phone case mold. Once cured, the result is a durable and eye-catching accessory that showcases your unique style. This tutorial not only provides a satisfying crafting experience but also results in a functional item that can protect your phone while adding a touch of sparkle.